
If you want crystal-clear video for your calls and recordings, the Logitech MX Brio webcam is a top choice. But setting it up and getting the most out of it can feel tricky at first.
Don’t worry—you’re in the right place. In this guide, you’ll learn exactly how to install your Logitech MX Brio quickly and start using all its powerful features like a pro. By the end, you’ll have everything running smoothly and be ready to impress everyone on your next video call.
Let’s dive in!
Unboxing The Logitech Mx Brio
The Logitech MX Brio is a high-quality webcam for video calls and recordings. Let’s see what comes in the box and how it looks right out of the package.
Unboxing helps you check all the parts and get ready for setup. It also gives a first look at the camera’s design and build.
What’s Inside The Box
Inside the box, you find everything needed to start using the MX Brio quickly. The items are packed neatly to protect the camera during shipping.
- Logitech MX Brio webcam
- USB-C to USB-A cable
- Privacy shutter cover
- Quick start guide
- Warranty and safety information
The USB-C to USB-A cable lets you connect the webcam to most computers. The privacy shutter helps cover the lens when not in use.
First Impressions
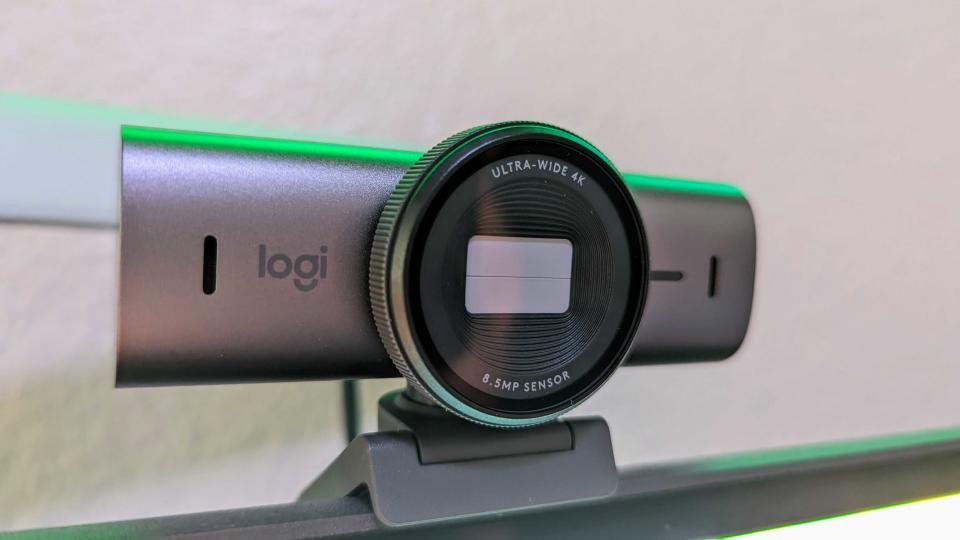
The MX Brio looks sleek and solid. It feels light but well-built, with a metal frame around the lens.
The camera lens is clear and protected by a small cover. The clip to attach the webcam is strong and adjustable for different screens.
- Smooth metal finish
- Compact and modern design
- Easy to adjust clip
- Lens cover for privacy
Setting Up The Webcam
Setting up the Logitech MX Brio webcam is easy. You can start using it quickly.
This guide helps you connect and position the webcam correctly for the best video.
Connecting To Your Computer
First, plug the webcam’s USB cable into a free USB port on your computer. The webcam works with USB 2.0 or higher.
Your computer should recognize the webcam automatically. If needed, install the Logitech software for extra features.
- Use a USB port close to your workspace
- Avoid USB hubs for better connection
- Check if the webcam light turns on
- Install Logitech Capture software for controls
Positioning The Webcam
Place the webcam on top of your monitor or laptop screen. Use the clip to secure it firmly.
Adjust the angle so the webcam points to your face. Make sure the lens is clean and unobstructed.
- Center the webcam for the best view
- Keep it at eye level to avoid awkward angles
- Use the tripod thread if needed for desk mounting
- Check lighting to improve video quality
Installing Logitech Software
To use your Logitech MX Brio webcam properly, you need to install the right software. This software helps control the camera and access its features.
Below are the steps to download and install the Logitech Capture software for your webcam.
Downloading Logitech Capture
First, visit the official Logitech website to get the Logitech Capture software. This program allows you to record videos and customize camera settings.
- Open a web browser on your computer.
- Go to https://www.logitech.com/software/capture.html.
- Find the download button for Logitech Capture.
- Click the download button to save the installer file.
- Wait for the download to complete before opening the file.
Software Installation Steps
After downloading, follow these steps to install the software on your computer.
- Locate the downloaded Logitech Capture installer file in your Downloads folder.
- Double-click the installer file to start the setup wizard.
- Read and accept the license agreement.
- Choose the installation location or use the default folder.
- Click the Install button to begin installation.
- Wait for the process to finish; it may take a few minutes.
- Click Finish to close the installer.
- Restart your computer if the software asks for it.
| Feature | Purpose |
| Video Recording | Record videos with your MX Brio webcam |
| Camera Settings | Adjust brightness, zoom, and color |
| Multiple Sources | Switch between different video sources |
| Live Streaming | Stream video to online platforms |
Configuring Webcam Settings
Configuring your Logitech MX Brio webcam helps improve your video calls and recordings. Adjusting settings makes your video clearer and sharper.
This guide covers how to adjust video quality, autofocus and zoom, and customize the field of view.
Adjusting Video Quality
Open the Logitech software to change the video quality settings. You can select the resolution and brightness to suit your environment.
- Choose between 720p, 1080p, or 4K resolution
- Adjust brightness and contrast manually
- Enable low-light correction for darker rooms
- Set frame rate to 30 or 60 fps for smooth video
Setting Up Autofocus And Zoom
Use the Logitech software to control autofocus and zoom. Autofocus helps keep your image sharp, while zoom lets you change your view size.
| Feature | Description |
| Autofocus | Keeps your face clear when you move |
| Manual Focus | Focus on a fixed distance without changes |
| Zoom | Zoom in or out up to 5x to frame your shot |
Customizing Field Of View
The field of view (FOV) controls how much space appears in your video. You can widen or narrow it depending on your needs.
- Wide FOV shows more background and people
- Narrow FOV focuses closely on your face
- Choose FOV settings in the Logitech webcam app
- Adjust FOV to fit your room size and purpose
Using The Webcam With Video Apps
The Logitech MX Brio webcam works well with many video apps. It gives clear video and good sound quality.
This guide shows how to use the webcam with popular apps like Zoom, Teams, and streaming platforms.
Integrating With Zoom And Teams
To use the MX Brio webcam on Zoom or Teams, first connect it to your computer. Then select it as the video device in the app settings.
- Open Zoom or Teams on your device.
- Go to the video or camera settings.
- Select “Logitech MX Brio” from the list of cameras.
- Adjust video quality and background options if needed.
- Start or join a meeting to test the webcam.
Make sure the webcam firmware is updated to avoid connection problems.
Using Webcam In Streaming Platforms
Streaming platforms like OBS Studio and Streamlabs support the MX Brio webcam. You can add it as a video source for live streams.
| Streaming Platform | How to Add MX Brio Webcam |
| OBS Studio | Select “Video Capture Device”, then choose “Logitech MX Brio”. |
| Streamlabs | Go to Sources, add “Video Capture Device”, select “Logitech MX Brio”. |
| XSplit | Use “Add Source”, choose “Camera”, pick “Logitech MX Brio”. |
Adjust resolution and frame rate in the streaming app for best video quality.
Credit: www.lemon8-app.com
Advanced Features
The Logitech MX Brio webcam offers advanced features that improve video quality and user experience. These features help you look your best in different lighting and background settings.
Learn how to use HDR and low light optimization, plus background replacement options to enhance your video calls and recordings.
Hdr And Low Light Optimization
HDR (High Dynamic Range) helps balance bright and dark areas in your video. Low light optimization improves image clarity when lighting is poor.
- Enable HDR in the webcam settings for clear video in mixed lighting.
- Use low light mode to brighten your face in dark rooms.
- Adjust exposure manually for better control of light balance.
- Combine HDR and low light features for the best video quality.
Background Replacement Options
The MX Brio supports background replacement to keep your focus clear during calls. You can blur, replace, or remove your background without extra software.
| Background Option | Description |
| Blur | Softens background details for privacy |
| Replace | Change background to a custom image |
| Remove | Make background transparent |
Troubleshooting Tips
Logitech MX Brio webcam is a top choice for video calls. Sometimes, it may not work perfectly. Let’s fix common issues together.
Follow these steps to ensure smooth operation of your webcam. They address connection and video quality problems.
Resolving Connection Issues
Connection problems can stop your webcam from working. Try these solutions to resolve them.
- Ensure the USB cable is securely connected.
- Check if the USB port is functioning properly.
- Update your webcam drivers from the Logitech website.
- Restart your computer to refresh connections.
Fixing Video Quality Problems
Sometimes, the video quality might not be clear. Here are some tips to improve it.
| Issue | Solution |
| Blurry Image | Clean the webcam lens with a soft cloth. |
| Dark Picture | Adjust lighting in the room or use webcam settings. |
| Lagging Video | Close unused applications to free up resources. |
If issues persist, consider contacting Logitech support. They can offer further help.
Credit: www.yahoo.com
Maintenance And Care
Taking care of your Logitech MX Brio webcam helps it work well for a long time. Regular maintenance keeps the video clear and the device running smoothly.
Simple steps like cleaning and updating the firmware can improve your webcam’s performance and durability.
Cleaning The Lens
Keep the lens clean to get clear images and videos. Dust or smudges can blur the picture and reduce quality.
Use a soft microfiber cloth to gently wipe the lens. Avoid using rough materials that can scratch it.
- Turn off the webcam before cleaning
- Use a dry microfiber cloth for dust
- For smudges, lightly dampen the cloth with water or lens cleaner
- Do not spray liquid directly on the lens
- Clean regularly to maintain image quality
Firmware Updates
Firmware updates improve the webcam’s features and fix bugs. Keep the firmware current for better performance.
Check for updates using the Logitech software on your computer. Follow the instructions to install any new version.
- Open Logitech software on your PC or Mac
- Navigate to the webcam settings section
- Look for firmware update notifications
- Download and install the update if available
- Restart the webcam after updating

Credit: vivo.tech
Frequently Asked Questions
How Do I Set Up The Logitech Mx Brio Webcam?
To set up, connect the webcam to your PC via USB. Install Logitech Capture software for full features. Adjust settings and position the camera for optimal video quality.
What Are The System Requirements For Mx Brio Webcam?
The MX Brio requires Windows 10 or macOS 10. 14 or later. USB 3. 0 port is recommended for best performance. Ensure your PC meets these for smooth installation and use.
How To Optimize Video Quality On Mx Brio?
Use Logitech Capture software to adjust brightness, contrast, and zoom. Position the webcam in a well-lit area. Enable HDR mode for clearer images in varied lighting.
Can I Use Mx Brio With Video Conferencing Apps?
Yes, the MX Brio is compatible with Zoom, Microsoft Teams, Skype, and others. Select it as your video source in app settings for seamless use.
Conclusion
Installing and using the Logitech MX Brio webcam is simple and quick. Just follow the steps carefully to set it up right. This webcam offers clear video and great features for calls or recordings. Keep your drivers updated to ensure smooth performance.
Try adjusting settings to fit your needs. Enjoy better video quality in meetings and chats. The Logitech MX Brio helps you connect with ease and clarity. Give it a try and see the difference yourself.


